
The Best Midjourney Prompts for Print Design Guide

.png)
Key takeaways:
- Midjourney offers fast, creative AI image generation for print, with plans supporting commercial use and multiple workflow speeds.
- Using Awesomic connects you to vetted designers who deliver print-ready files quickly, with unlimited revisions and style consistency.
- Effective prompts for print include stepwise details and exact parameters; Awesomic helps scale prompt engineering and file prep.
Generative AI tools have been a sensation since last year, starting with OpenAI’s ChatGPT for generating text, analysis, and more. But that’s not all that GenAI tools can offer; they can also create video, images, illustrations, and 3D animations. Midjourney, in particular, has been one of the landmarks of GenAI image generation due to the power of its engine and has seen immense growth since its launch.
There is no telling what the future holds for tools like Midjourney. One thing is certain: they have and will continue to shape creative industries. One of the most recent applications that generated use cases with positive results is for Print design.
When we think about print design, we can be as general as crafting posters, as specific as designing business cards, or as liquid as conceptualizing a magazine layout. In this guide, we’ll explore how you can leverage Midjourney by prompting engineering for print design and achieving the best results possible. We’ll also explore when and where it may be the most valuable to use these tools and when the effort becomes less rewardful.
What is Midjourney, and How Does it Work?
Midjourney is an AI-powered platform that generates images from text prompts. The tech behind it involves advanced machine learning models, large language models (LLMs), and diffusion models. From the initial text, the model deciphers the contextual clues, then generates noise, refines it based on training data, and then outputs the image. The image can, then, be refined by the user with certain functionalities such as upscaling.
Since the platform is able to create professional looking images from a text prompt, it can help designers and non-designers come up with ideas, concepts, and even develop the full design from scratch.
From classic art styles to futuristic trends, it offers vast customization through modifiers, weighting elements, color blending, and more.
1. Starting with Basic Prompts for Print Design
Instead of trying to get all of the aspects of prompt engineering for Midjourney from their comprehensive wiki, which can be a daunting task, let’s start out by building prompts and designs, while we work our way through basic to more advanced prompting.
The most important aspect to get right at the start is clarity, while complex prompts have their place in the workflow, we’ll begin with simple prompts to help with ideating. And if your prompts are generating concepts for physical products, it may be worth pairing AI ideation with the decision to hire a packaging designer.
- Poster design for an EDM event: “Vibrant DJ event poster, neon colors, futuristic typography, electric aesthetic”
- Flyers for a festival: “Abstract festival poster, featuring a tropical beach scene, bright colors, playful font, beautiful people dancing”
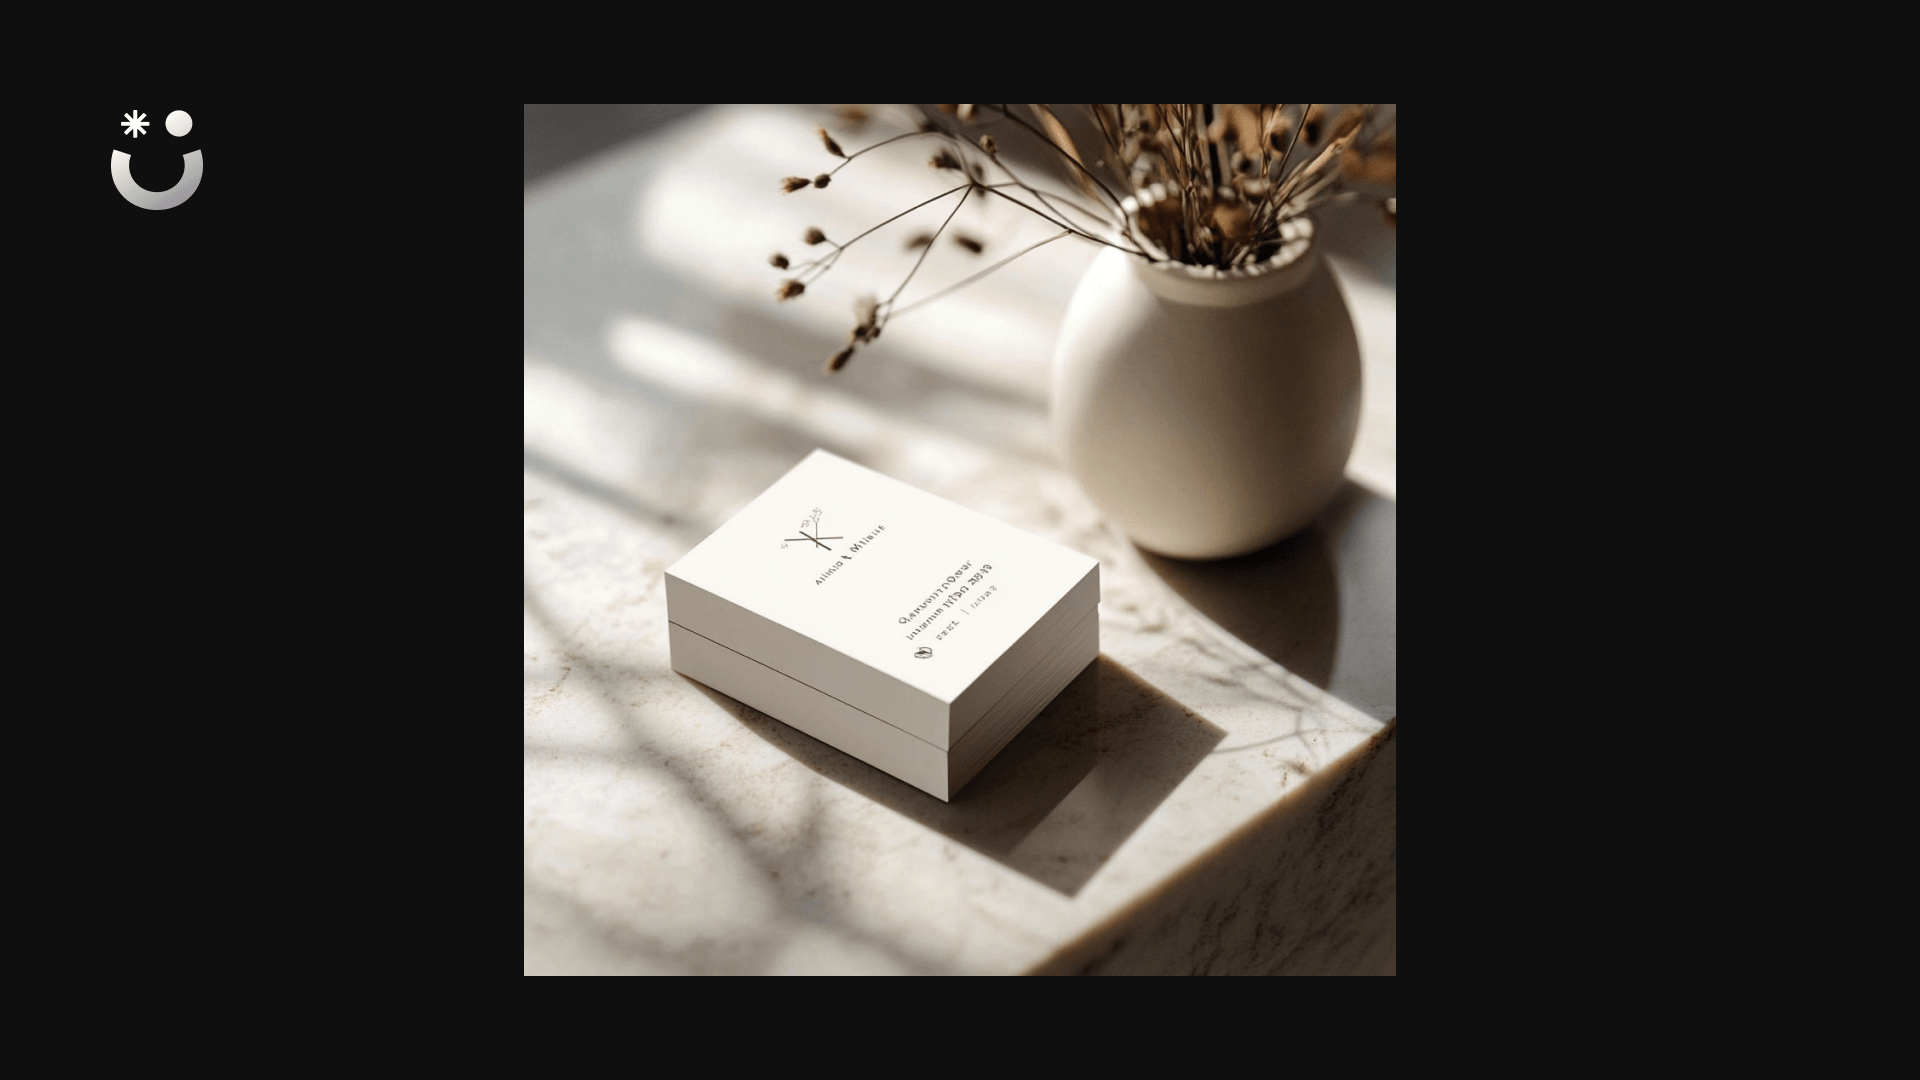
- Business cards: “Minimalist business card design, centralized logo, muted tones, clean layout, modern sans-serif font, Bauhaus-inspired.”
.png)
The key is to direct the AI towards the output you need, whether it’s emphasizing typography, color schemes, or certain elements like logo placement, or other key aspects to the design such as background and forefront.
2. Using Style Modifiers for Precision
Midjourney’s vast training data allows for you to control the style and composition of the image using stylistic modifiers. These are keywords or phrases that shape the aesthetic.
For print design, style consistency is crucial, and modifiers help maintain that. Midjourney is also making headway on features that make it possible for an easier and more consistent image creation process such as creating characters that will maintain the same identity across multiple styles.
But for simply creating a stylistic modifier, let’s try with the following prompts:
- Vintage: “Retro 1950s magazine ad style,halftone textures and pastel colors.”
- Minimalist: “Minimalist book cover design, clean lines, a monochrome palette, and modern sans-serif typography.”
- Abstract: “Abstract t-shirt print design, bold geometric shapes, vibrant primary colors, and irregular forms.”
As you go through these prompts you can see how incorporating color palettes, and historical artistic movements style guides will make your design align more with the feel you’re looking for, whether it be for a particular ad, design, or just making brand-focused content.
3. Advanced Techniques: Using Midjourney’s Weighted Prompts
Now, onto the more advanced techniques you may try out when using Midjourney. When we think about print design, the hierarchy of elements is important. We talked about background and foreground previously, but what if you need to highlight elements within the background, or in the main object of your design?
Midjourney allows you to assign weight to design elements, so you can guide the design creation for what aspects should dominate the composition.
For instance:
- Typography-focused: “Typographic poster design::3 with vintage fonts::2, pastel colors::1, and minimalistic layout.”
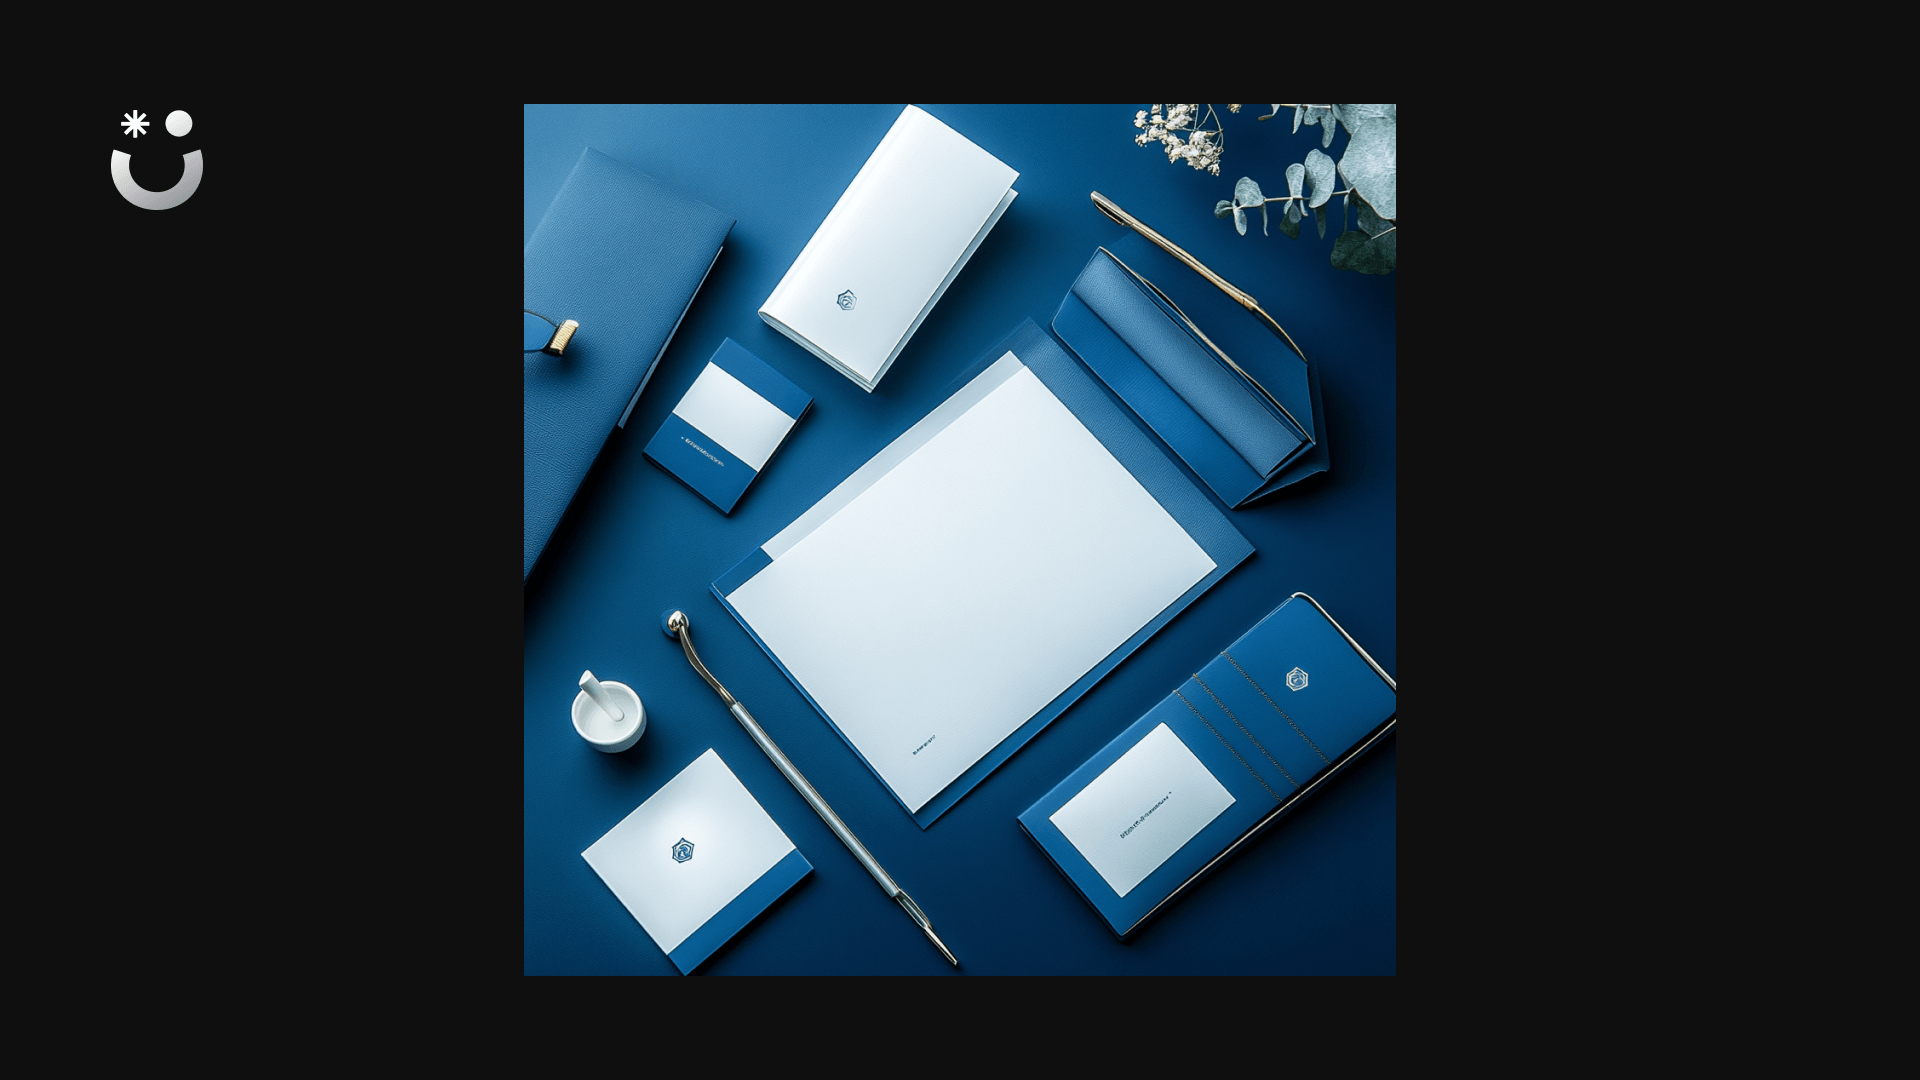
- Logo Emphasis: “Business card::2 with centralized large blue and white logo::3, minimalistic background::1, and gold foil accents::1.”
By adjusting the weighting, you can ensure that Midjourney understands the hierarchy of design elements. Also Midjourney allows for multiple of the previous techniques to be added to the prompt, so let’s say you want a particular focal length, or aperture, and a vintage Polaroid picture style with a bauhaus-inspired frame, and the model should show as in a medium close-up shot. You can do that.
But here’s the pro tip: start off simple, and add more details to the prompts as you see fit. And when your Midjourney concepts are ready to become polished client-facing materials, find an AI brochure designer to handle the production-ready execution. If you start out with overly complex prompting, you may find yourself spending more time figuring out what went wrong than using this powerful tool to help you get more done. It’s also important to explore another powerful feature of the tool, to use sourced images as reference points, to drive your creative vision to the desired destination.
4. How to use Midjourney for Print Design
Now that you know some of the best prompts for print design and how Midjourney works from our previous overview, let’s talk specifics. For now, a lot of AI-powered tools are giving us ways to minimize manual efforts to automate tasks, or at least get them done with less attrition.
Understanding how to actually leverage these tools in your workflow is the biggest challenge, so here are some ways you can start using Midjourney for your print design efforts, whether you are a print designer or business owner looking to bring on an AI book designer through Awesomic to turn those AI-generated concepts into print-ready publications.
- Ideation: Midjourney is a tool that can generate high-quality images in a few seconds. Although they may not be ready to go straight into production, if you master prompting with Midjourney you will be able to cut a lot of time searching for inspiration on photo libraries across the web.
- Communication: It can help you as a business owner or department heads to communicate with your design team by showing them what your expectations are, instead of using phrases like “it needs more color”, “make it pop”, and other abstract directions.
- Assets creation: Here’s where Midjourney can really help speed up your design process. Suppose you need to create 3D-like texture paints from scratch, you already know the composition and the color palette, with Midjourney this process can take a few seconds to a few minutes, while creating it from scratch could take hours.
- Upscaling images: As we know, print design requires a better resolution than what you can get away with for instance on the web. Midjourney has features for upscaling created images, and the assets we just mentioned, in just a few seconds.
- Combine human editing with AI: What if you created a beautiful image in Midjourney, but you can only really use the background or a model, or just a particular color in the pallet? Well, you can simply get that image, open it on your favorite editor, and compose your own design. An AI-powered design with your unique human touch.
- Specific layouts and print projects: When prompting, make sure to use specific layouts and common print design projects to ensure that Midjourney will reliably create designs that make sense for the medium you’re exploring. And for even better results, use reference images to boost the power of your design.

How Do I Set Up and Pick the Right Plan?
Getting started with Midjourney is easier than you might think. First, decide whether you want to use Discord or the web version. Both work well, but they each have their perks. If you choose Discord, you’ll connect by logging in with your Discord account and then link your email or wallet. Joining the official Midjourney community servers gives you access to public channels where you can try out midjourney prompts and share your creations. On the other hand, the web version lets you log in with your email directly, and it offers a cleaner experience with features like an explore page, faster user experience, and easy access to your image history and batching options.
Here’s a quick look at why you might pick one over the other:
- Web Version: Great for exploring popular prompts, quick batch creations, and viewing your prompt history neatly in one place.
- Discord: Offers full control with bot commands, quick chat interactions, and community support in real-time.
Next, you want to pick the Midjourney subscription plan that fits your needs. At the time of writing, here are the main plans:
Author’s note: Check the Midjourney pricing page for the latest features and prices.
If you find managing all this a bit much, here’s where we come in. If you need faster, consistent, team-backed output for client work, consider Awesomic. We’re a subscription talent marketplace that matches you with vetted designers who handle Midjourney workflows and deliver print-ready assets. Awesomic is a YC-backed company trusted by over 4,000 companies, with 20,000+ projects done and excellent ratings around 4.8 out of 5. You can get matched with talent in 24 hours and start receiving deliverables quickly. Plus, we support daily updates through our app, Slack, email, and calls.
Our pricing runs from roughly $200 per month for an AI studio option to $2,995 and up for all-in-one plans. Quarterly subscriptions save you about 20% but come with a three-month minimum. If you’re hitting bottlenecks with Midjourney’s fast and relax modes, Awesomic talent can speed things up by managing batch renders, queues, and prompt optimization — we’ve seen turnaround times cut by around 40%. Plus, our app tracks progress, offers unlimited revisions, and manages talent rematches at no extra cost.
Speaking of speed and workflow, Midjourney has three main modes: fast, relax, and turbo. Use --fast or just rely on your fast hours to get images quickly, perfect for midjourney prompts for realistic photos. Relax mode uses no fast hours but takes longer. Turbo mode is for even faster results but might use more of your fast hours. You can toggle these modes via commands or in your plan settings. Choosing between them depends on how urgent your workflow is and how many images you need.
Here’s a quick tip on account management: Always track your usage, especially fast hours. Be mindful of how often you repeat code or write long prompts—complex prompts use more resources. If you’re working on bigger projects or client work, upgrading your plan or teaming up with Awesomic can save you headaches. We handle hours, progress, and deliverables inside our platform and Slack integrations, perfect for teams juggling multiple projects.
To sum it up:
- Activate Turbo, Fast, or Relax modes with simple commands (--fast, --relax, --turbo).
- Find your current plan details on Midjourney’s account page or right within Discord.
- Consider upgrading if you need faster outputs, more commercial rights, or private workspaces.
Need a faster path from prompt to print-ready files? Book a 15-minute Awesomic demo to get matched with a designer within 24 hours. You’ll save time and get professional quality without the hassle. Whether you’re working with the best midjourney prompts or diving into midjourney prompts for characters, we’re here to help.
How to Write Prompts That Work for Print Design
You’ll learn how to craft Midjourney prompts that nail print designs every time. The trick is to be clear, step-by-step, and think like a designer. Here’s a simple framework that I use for almost every project:
- Concept: What’s the main idea or theme?
- Focal Point: What should grab attention instantly?
- Style: Vintage, modern, minimalist?
- Composition/Shot: Close-up, wide shot, centered?
- Lighting/Color: Dramatic lighting, neon colors, muted tones?
- Texture: Smooth, grainy, halftone?
- Technical Parameters: Aspect ratio, quality, stylize settings.
Following this keeps your prompt organized and focused on print needs. For example, if you want gig art for a neon music poster, you might use: "[theme], bold central composition, negative space for typography, neon palette, halftone texture --ar 24:36 --s 250 --q 2"
To make things easier, try these copy-ready prompt templates for popular print categories. Just swap out the placeholders:
- Poster/Gig Art
"[theme], bold central composition, negative space for typography, neon palette, halftone texture --ar 24:36 --s 250 --q 2" - Business Card
"minimalist business card front, centered logo area, muted palette, safe margins, 3:2 print layout --ar 3:2 --style raw" - Editorial Cover
"moody portrait, cinematic lighting, shallow depth of field, teal & orange grade, film grain --ar 8:10 --v 5.1 --q 2" - Repeatable Pattern/Textile
"seamless geometric tile, vector-friendly lines, high contrast colors --tile --ar 1:1 --s 100"
Here’s a neat trick: start with a simple prompt. Then add one detail at a time. Say you want an image of an obelisk. Your first prompt might be: obelisk
Add a style: obelisk, dramatic lighting
Then add color and texture: obelisk, dramatic lighting, teal & orange, film grain
You build up the prompt until it feels just right.
Sprinkle in some helpful vocabulary and camera terms too. Words like “wide shot,” “50mm lens,” “f/2.0,” or “Kodak Vision2 500T” help Midjourney aim for realistic photos and creative styles. These terms give your prompt more muscle.
Don’t forget technical settings:
- Aspect Ratios: Use --ar 3:2 for business cards, --ar 4:5 or --ar 8:10 for portraits or editorial covers. Posters usually work great at custom tall ratios like --ar 24:36.
- Stylize (--s) and --style raw: If you want your design to stick closely to brand rules, keep stylize low or use raw style for less AI flair.
- Quality (--q): Default is fine, but use --q 2 for sharper, print-ready images—just remember it costs more GPU time.
- Chaos, Seed and Weights: Use --chaos for variety or :: to weight parts of your prompt (“typography::3 background::1”).
- Image inputs: If you have reference images, put the URL first then text to guide style with /describe or /blend commands.
Now, when you write your prompts, keep this checklist handy to trim extra fluff: keep your shot type, aspect, main subject, and two style words. Everything else can be cut to save tokens and stay sharp.
Here’s a quick example prompt ready to paste for a realistic editorial photo: moody portrait, cinematic lighting, shallow depth of field, teal & orange grade, film grain --ar 8:10 --v 5.1 --q 2
Sometimes, you’ll want to push beyond writing prompts yourself. That’s where Awesomic helps. We connect you with designers who turn Midjourney prompts into print-ready files fast. Our designers know how to keep aspect ratios consistent, lower stylization for brand safety, and create variants for trims and bleeds. You can get batch renders, 300 dpi exports, and layered files tailored for print.
We match you with a vetted AI designer within 24 hours. Deliverables come back as fast as the next day. Plus, you get unlimited revisions and fast feedback through Slack, so you nail the exact look you want. Think of us as your print prompt partner, taking the heavy lifting off your plate. If prompt engineering feels overwhelming or you need production-ready results, getting help from Awesomic keeps your project smooth and on track.
By using this stepwise method, copy-ready templates, and the right tech settings, you’ll master the best Midjourney prompts for realistic photos and printed design work in no time.
How to Keep Styles and Characters Consistent Across Assets
Keeping your design style and characters consistent across all your print assets is key. This makes your work look professional and polished, which clients and audiences notice immediately.
You’ll learn some practical Midjourney prompts tricks, tools, and workflows to lock your style and characters in place, so everything feels like it belongs together.
First, let’s talk about style consistency.
One powerful tool Midjourney offers is the --sref style reference. This lets you save a specific style code and reuse it in new prompts. You can find and store these codes at handy places like sref-midjourney.com. It’s like bookmarking your favorite style, so you can apply it again and again without losing detail.
Another way is through a few-shot or prompt-chaining approach. This means you start with 2 or 3 Midjourney prompts that perfectly show your style, then keep reusing or building on them in follow-ups. For example:
- Use prompt A: "vintage print poster, warm tones, textured paper --s 750"
- Followed by prompt B with the same style but different content
- Then prompt C to refine lighting or layout with the same references
Over time, you lock in the look through repetition and similar prompt structure.
It’s also smart to create a style bible. This is a simple document where you note down everything that keeps your style consistent:
- Palette hex codes
- Fonts
- Aspect ratios
- Saved --sref codes
- Common descriptive phrases you use in prompts
Now, character consistency is just as important.
Midjourney has a --cref feature that uses AI-generated references to help reproduce the same character across images. It works better than using photos because AI refs adapt easily to style changes. But remember, it has limits—sometimes details shift a bit, so don’t expect pixel-perfect clones every time.
To keep faces consistent, try tools like Starbyface to discover celebrity lookalikes, or Akool for post-generation face swaps and touch-ups. Here’s a good workflow:
- Generate multiple character images using --repeat or fixed seeds
- Pick your favorite one or two as anchor images
- Refine their faces with inpainting or Photoshop’s generative fill for fine details
This method helps you keep a clear character image that fits your style.
On the technical side, printable templates are your friends. Make sure you provide specs like bleed, trim, and safe zones. Set your DPI to 300 for print-quality sharpness, and use the right color profiles like CMYK for accuracy.
Common aspect ratios to remember:
- Business cards: 3.5 x 2 inches (approximate ratio 1.75:1)
- Posters: 24 x 36 inches (ratio 2:3)
These exact measurements make printing easier and avoid surprises.
Here’s a quick checklist of what you want in your materials and links to keep on hand for smooth consistency:
- Lists of your favorite --sref style codes and where to find them
- Step-by-step --cref workflows
- Names of face tools like Starbyface and Akool
- Template specs covering bleed, dpi, and color modes
Now, I want to share a practical workflow that we use with Awesomic, which helps you keep styles and characters consistent without the hassle.
After you create your style bible and pick anchors for characters, we match you with vetted designers who follow your style closely. Our vetting process is strict — only 0.82% pass after portfolio checks and reviews, so quality stays high.
Plus, with Awesomic, you get unlimited revisions, daily updates, and can switch talent anytime. This helps keep your style consistent across big batches of assets. You can add team members or scale plans as needed, which is perfect for agencies or teams handling recurring print work.
Our designers deliver style bibles packed with your hex palettes, fonts, aspect ratios, and --sref/--cref codes. They also provide print-ready assets — 300 dpi, correct color profiles, and layered files when you need them.
Thousands of companies trust Awesomic. We’ve completed over 20,000 projects with about 70% lower costs, 40% faster turnaround, and 60% fewer revisions. If you want a smooth, hands-off way to keep your Midjourney prompts style and characters consistent at scale, you can book a 15-minute intro/demo to see how we bring it all together.
Generative AI is amazing, but…
Midjourney and other GenAI tools are really powerful for designers and business owners who are looking to innovate and push new boundaries with AI-driven creativity and the crux of the matter is: AI is not going anywhere. But…
Awesomic believes in the power of technology to drive human creativity and help build better things, but let’s also keep in mind the human element at play. Powerful tools will come and go, but human connection, the most powerful of all tools, is the one that will always be a constant.
When you can master prompting, and you open yourself to new experiments with weights, styles, and industry-specific design, you can transform your work process, absorb new perspectives to create more visually stunning images, and even print-ready assets that resonate with your audience.
Think about adding prompting as an aspect of your creative composition, it’s your input, your decision to choose the images, and your expertise on how to leverage them. The examples in this small guide are but a starting point. Refine them to match your unique design needs.
Mastering Midjourney which is one of the most complete tools for AI content creation can help make your ideas come to life. As you see in this article even with great prompts and using reference images, sometimes the tool will create inconsistent designs of different qualities.
You’ll eventually need the human touch and design expertise to make the absolute best use of this tool.
Awesomic for print design
Awesomic AI-matches companies with top talent from all over the world, we offer tools for easy design tasks creation and by mastering Midjourney you can ask for more consistent and visually unique designs to be used as reference. Our designers will bring in the human touch, and expertise to turn your machine-created designs into real compositions tailored to your audience’s emotions.
Sign up for a demo, and we’ll walk you through the process and figure out how to best leverage your designs for your particular business needs.
FAQs
What are best tips for writing midjourney prompts for realistic photos?
To make your prompts work well for real-looking images, focus on clear details. Describe lighting, colors, and camera angles. Add specifics like lens type or time of day. Use short sentences and keep prompts simple before adding more detail. This helps AI understand your exact needs better.
How can I make midjourney prompts for characters consistent across images?
Use style references and save your favorite prompt parts. Generate a few images first, then pick the best examples to copy style and poses. Repeat with slight changes to keep faces or outfits alike. This method helps keep characters looking the same in different pictures.
What are some good midjourney prompts examples for print design?
Try prompts that mention layout needs, like “safe margins” or “negative space.” Include colors and textures too. For example, “bold central composition, neon palette, halftone texture” works well for posters. Use aspect ratios to match print sizes like 3:2 or 4:5 for accuracy.
When should I include technical details in my midjourney ai prompts?
Add technical stuff like aspect ratio or quality when you need exact outputs. If you want faster results, skip complex settings. For print, detail is important to avoid surprises later. You can test simple prompts first then add technical tags as you refine your design.
How do I know if my midjourney prompts for characters need refining?
Look for differences in key features like face shape or hair color. If images vary too much, narrow your guesses to fewer words or use seed numbers. Keep prompt length balanced — too long can confuse AI, too short may miss details. Iteration is key to better results.
One subscription and your hiring problems solved


FAQ
Awesomic is a revolutionary app that matches companies with vetted professionals across 30+ skill sets, from design and development to marketing and product. Based in San Francisco with a global core team, we offer a faster and more flexible alternative to traditional hiring through a subscription-based model. Awesomic delivers high-quality talent on demand, without the delays of recruiting.
We function as a subscription-based service that matches you to top-tier, vetted talent. Submit a project in just a few clicks and start receiving deliverables in as little as 24 hours. Scale your Awesomic plan up or down as your business needs change.
Every Awesomic subscription comes with unlimited revisions. You receive daily progress updates via the app, and you can provide feedback or request iterations as needed. If your project requires a different approach, you can request a talent rematch at any time, at no extra cost. You can also add teammates to collaborate and streamline feedback
A talent marketplace is a platform that utilizes data and intelligent matching algorithms to connect professionals with projects based on their skills, experience, and availability. While often used internally by large companies, Awesomic applies this model at scale, matching vetted global talent to your most critical business needs.
Hiring is time-consuming, expensive, and risky. Awesomic eliminates that problem. We rigorously vet all talent for technical ability, communication, and soft skills, ensuring only senior-level professionals work on your projects. You skip the job posts, interviews, and delays, and get straight to results.
No, Awesomic goes beyond design. While many clients utilize us for branding, UI/UX design, or motion graphics, we also provide vetted talent in no-code web development, product design, marketing, and more. Think of us as an extension of your team. A flexible, high-performing creative partner from planning to execution, whether you're building awesome products or scaling your team.
You can talk directly with your matched talent via the Awesomic app, connect via Slack, email, or schedule video calls. No matter the plan, you’ll receive daily updates in the app for every active task. You can also tag us in for any issues through our in-app customer chat.


